How to Make a Fall Leaf Sensory Bottle
Add this leaf sensory bottle to your fall activities for preschoolers today. It only requires a few materials and is so easy to make. You can make it on your own or involve the kids in its creation.
The leaf sensory jar is made up of entirely dry materials. This means you don’t have to worry about spilling any liquids as you make it. And the children can explore the sense of sound with the leaves bottle, too. The dry items make some great noises when shaken.
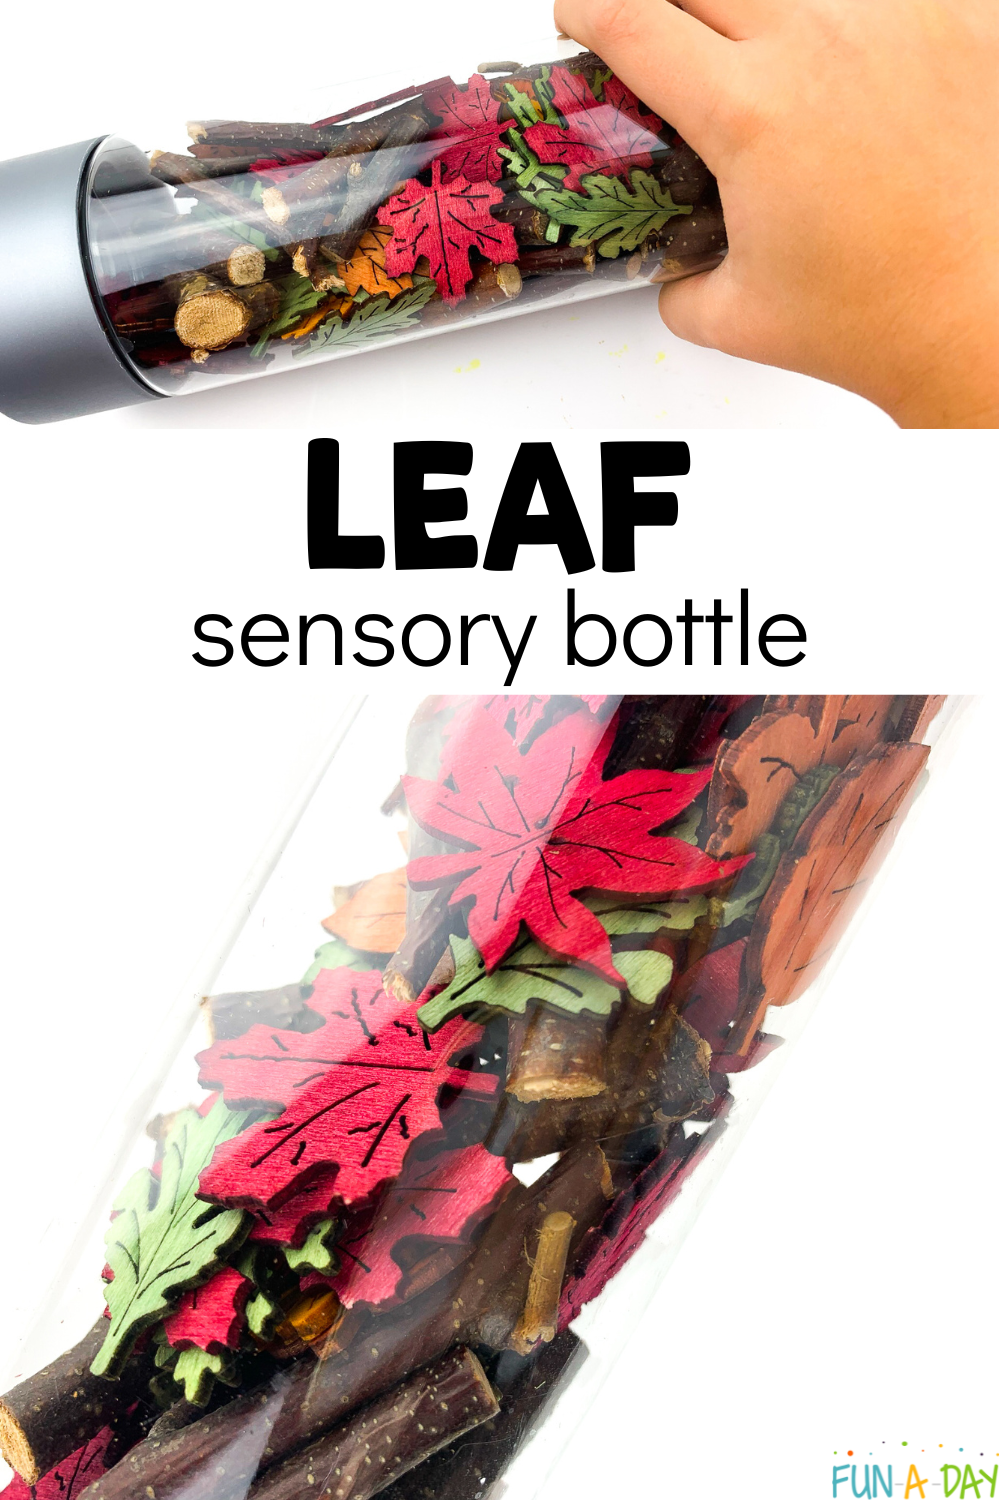
You can even make changes to the fall leaves sensory bottle based on your own preferences, the kids’ interests, and the materials you have on-hand.
Leaf Sensory Bottle
Now let’s take a look at how we made our fall bottle. It’s super easy to make, and remember that you don’t have to make it the same way we did!
How to Make the Leaves Sensory Jar
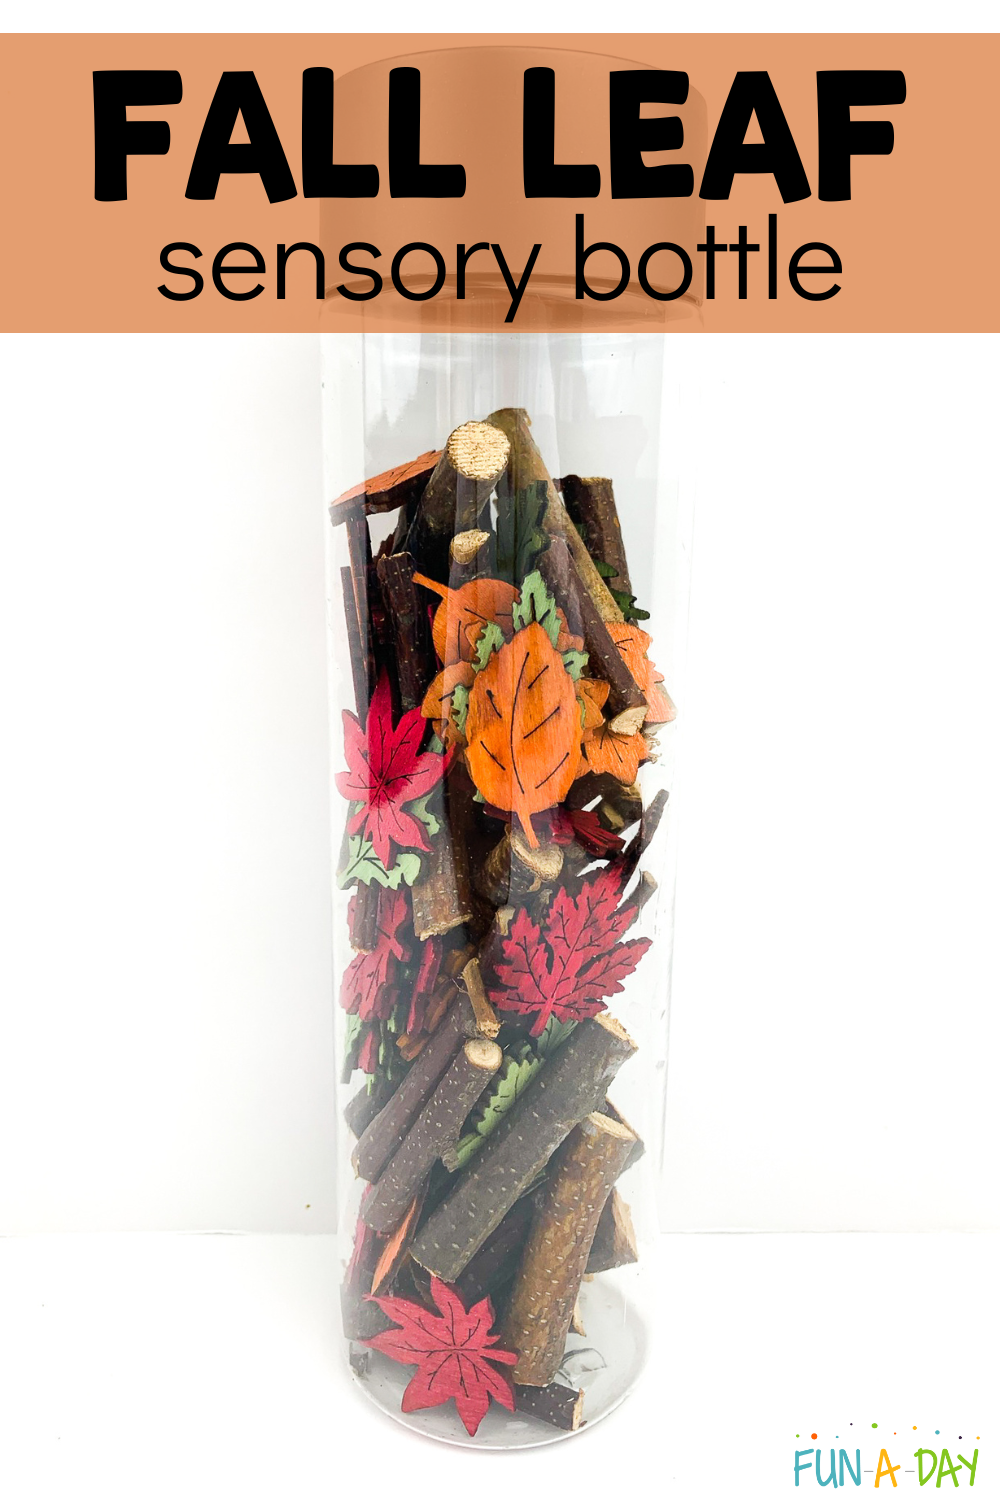
Start off by gathering all of your materials. We used just a few for the leaf sensory bottle (I may get commissions for purchases made through links in this post):
- 16 ounce wide-mouth sensory bottle
- Wooden leaves
- Small sticks
And that’s it! You can take the kids on a stick hunt outside to collect sticks and twigs for the sensory jar. Or grab some ahead of time for this. That’s totally up to you.
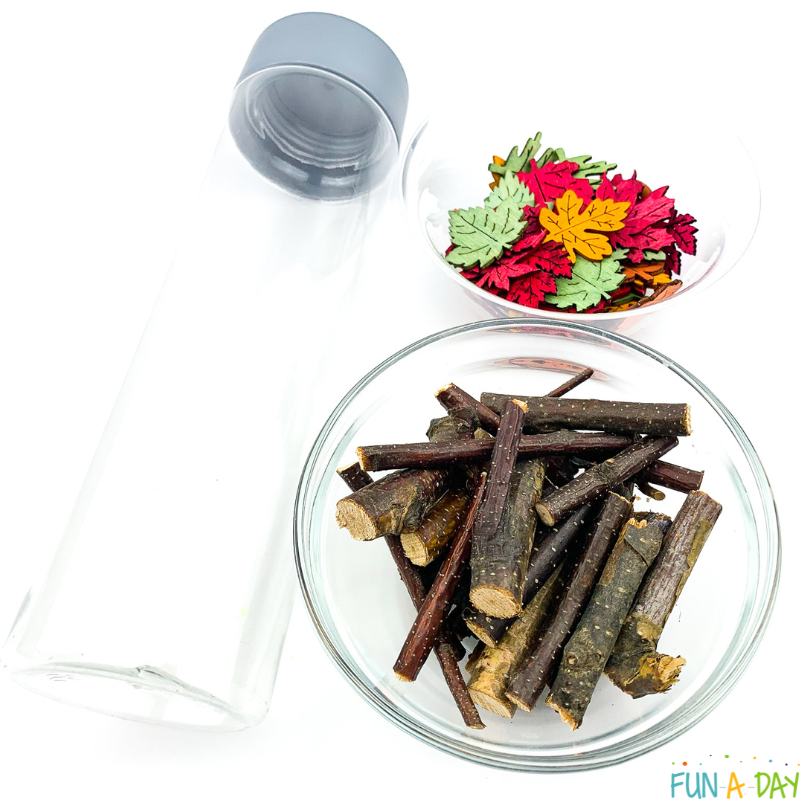
Once you have the materials, it’s time to make the fall leaves bottle. Make sure the jar is empty, clean, and completely dry. Water would wreak havoc on the materials, so a dry bottle is important when you’re starting out.
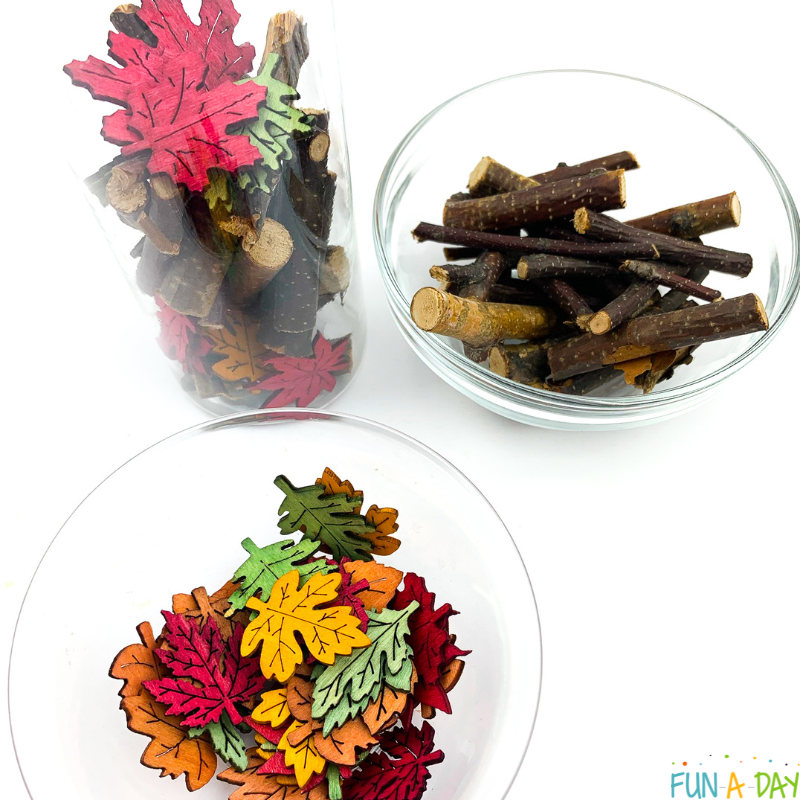
Then it’s just a matter of adding the sticks and leaves into the bottle. We added some sticks and followed it up with some of the leaves, taking turns until we were done. This way, the materials are dispersed somewhat equally throughout the jar.
Finally, put the top on the bottle. You can glue the top onto the bottle if you want. This is important if you’re sharing it with kids who still put things in their mouths. With older preschoolers, I didn’t see the need to. But you know your students best.
Using the Leaf Sensory Bottle with Kids
Once the leaves jar is done, let the kids start playing and exploring. Since sensory play like this is open-ended, there’s really no “right” or “wrong” way to play (within your classroom rules, of course).
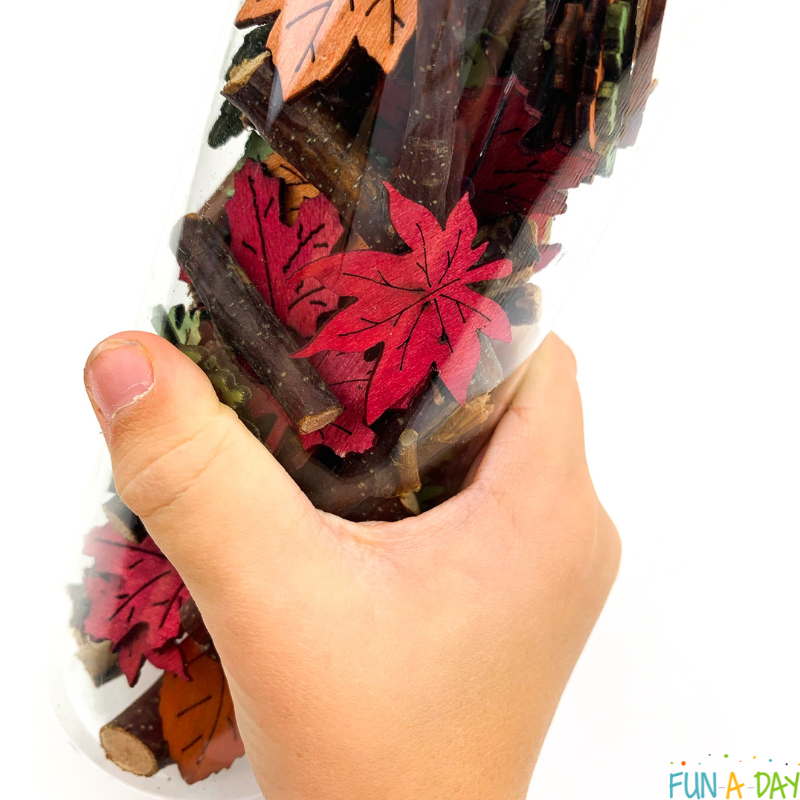
So you’ll see each child interacting with the sensory bottle a little differently. I really enjoy seeing the different ways kids play with sensory materials. And kids often have such great observations about the materials, too, don’t they?!
Here are some things you might observe as the kids use the leaf sensory bottle:
- Shake the bottle to hear the noises it makes.
- Roll it along the floor to watch the materials move and listen to the sounds.
- Count all of the different colored leaves.
- Compare the wooden leaves to real leaves.
- Compare the number of leaves to the number of sticks in the jar.
- Observe the shadows cast by the bottle when placed in a window.
Your students will likely come up with all kinds of observations and ways to play with the fall leaves jar!
Other Ideas for the Leaf Bottle
As I mentioned early, you can easily make changes to the leaf sensory bottles. Here are a few ideas to get you started:
- Use real leaves in the sensory bottle in place of (or in addition to) the wooden leaves. The children will likely notice that the real leaves break apart when the bottle is shaken a lot.
- Make it a wet sensory bottle by adding water. If you do this, you’ll want to use fabric leaves, real leaves, or acrylic leaves. The wooden leaves and sticks wouldn’t do so well in water.
- Turn the leaves sensory jar into a “make it yourself” sensory station! Place the materials out in a large sensory bin, along with a variety of empty bottles. The kids can make their own versions of the leaf sensory bottle that way. Or they can make one, pour everything out, and make it again.
- If you don’t have wooden leaves to use, there are so many other types you can add to the sensory bottle. You can try fabric leaves, acrylic leaves, foam leaves, leaf mini erasers, or even leaf-shaped hole punched paper!
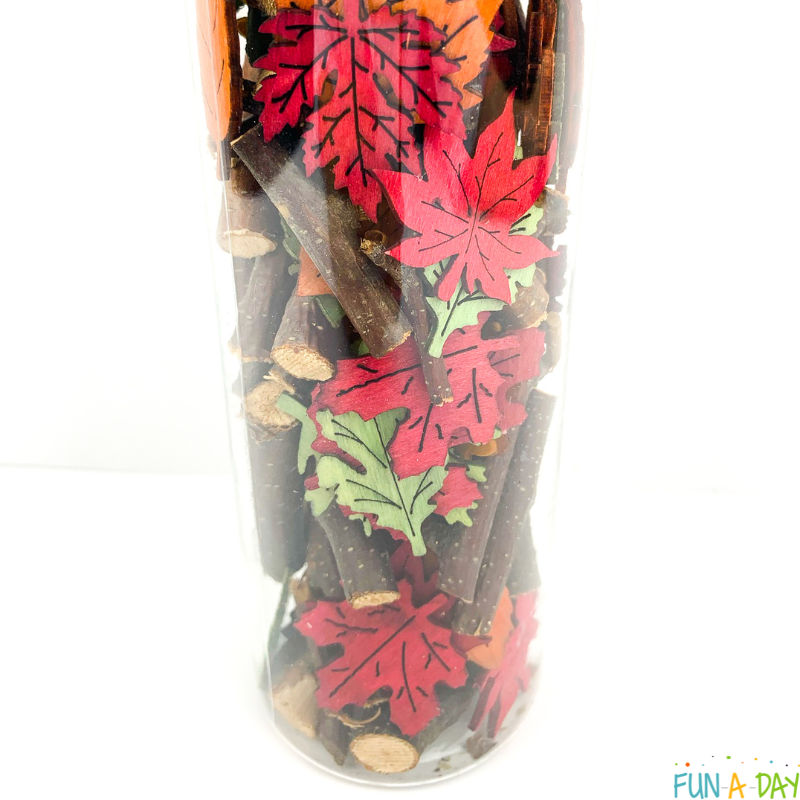
How will you make a leaf sensory bottle with your students? Be sure to save this post for inspiration!
More Fall Leaf Activities
Here are some more engaging leaf-themed activities to try with the kids:
- Leaf Sensory Bin
- Fall Cutting Strips
- Colorful Leaf Suncatcher
- Pumpkin Seed Art (pumpkin seeds as fall leaves!)
- Leaf Beginning Sounds Activity
- Fall Leaf Potato Stamp
- Shape Painted Leaves
- Fall Leaves Art Project
I think those ideas will pair well with the leaf sensory bottle! What would you add to the list?
Leaves Preschool Lesson Plans
Let Preschool Teacher 101 save you a ton of planning time with done-for-you early childhood resources! We have hundreds of lesson plans and supplemental learning activities perfect for preschool and kindergarten. Be sure to check out The Pack from Preschool Teacher 101 for even more access to our materials (at a steep discount, too).
Our leaves lesson plans come with a weekly overview, detailed daily lesson plans, whole group activities, small group lessons, center ideas, book suggestions, and related printables. Click on the image below to get your own:
Here are a few more resources perfect for your classroom:
The post How to Make a Fall Leaf Sensory Bottle appeared first on Fun-A-Day!.

