
Papyrus and Hieroglyph Activity
I love to make my kids’ education experiential and hands-on whenever possible. Often, life gets so busy that my grand ideas don’t actually happen as often as I would like. Over the course of the past year, given the shutdown pandemic-y status of the world, we were actually able to do a lot more hands-on history activities than we’ve done in previous years. However, while I took time to take pictures of many of these activities, I never actually posted them. This papyrus and hieroglyphs activity is from over a year ago. (Insert palm to forehead emoji.) However, it was so simple and my kids had so much fun, I want to belatedly add it anyway, so you can see how unintimidating this papyrus and hieroglyph activity is and hopefully be inspired.
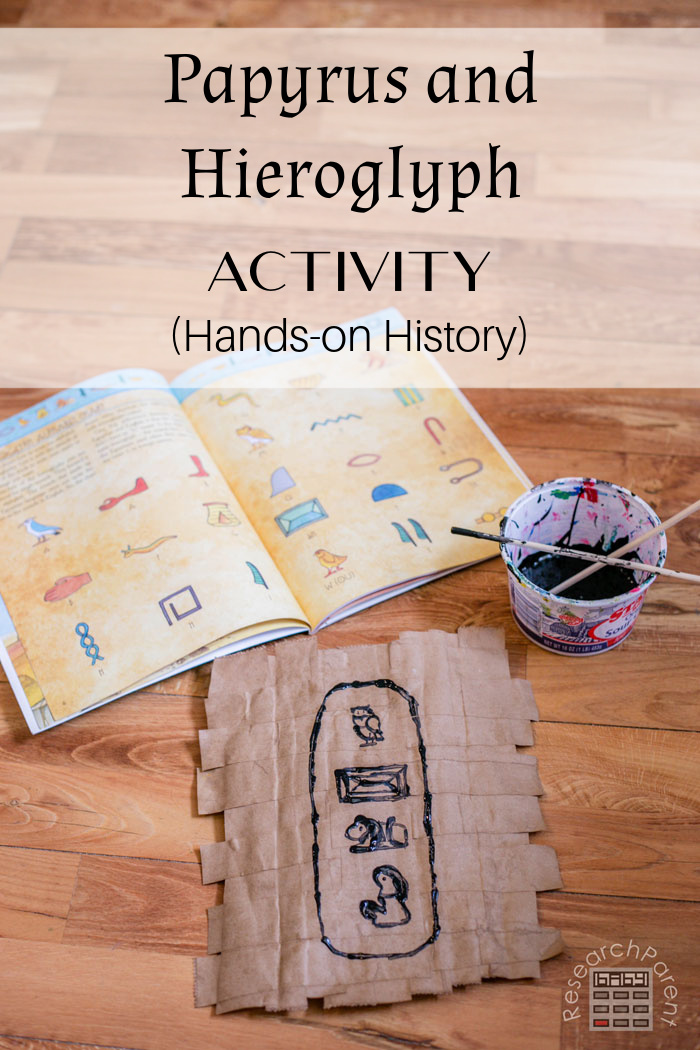
After spending some time learning about Ancient Egypt, I thought it would be fun to make some DIY “papyrus” using brown paper bags. (I know those can be hard to find nowadays. I’m pretty sure this activity would work equally well with any type of paper including white printer paper.)
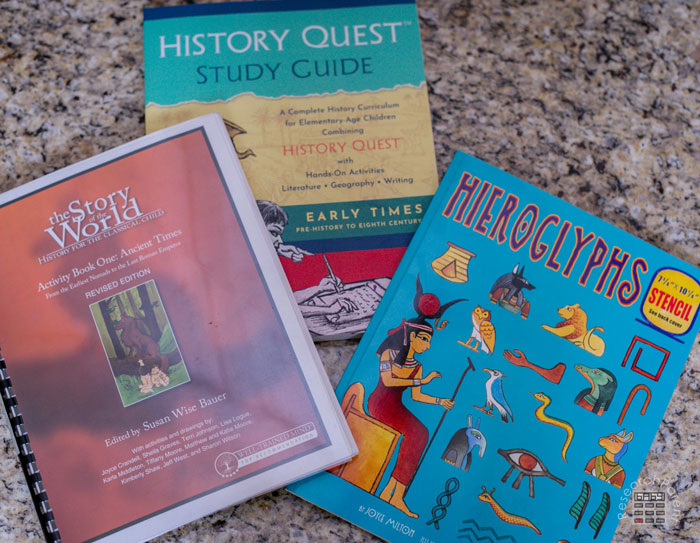
We started off by reading about Ancient Egypt. For those who are homeschooling, I have always used Story of the World as our history spine, but over the past couple of years, I have been using History Quest to supplement. Personally, I think SOTW is better for younger kids and the accompanying activity book includes pages that are quick and easy samples for our charter school. However, History Quest is meatier and I feel it is more appropriate for my 11-year-old. Even for those who are not homeschooling, we also used this $8 Hieroglyphs book to go along with this activity which included fun stencils. This book is primarily what we used to learn about cartouches and figure out what we wanted to write.
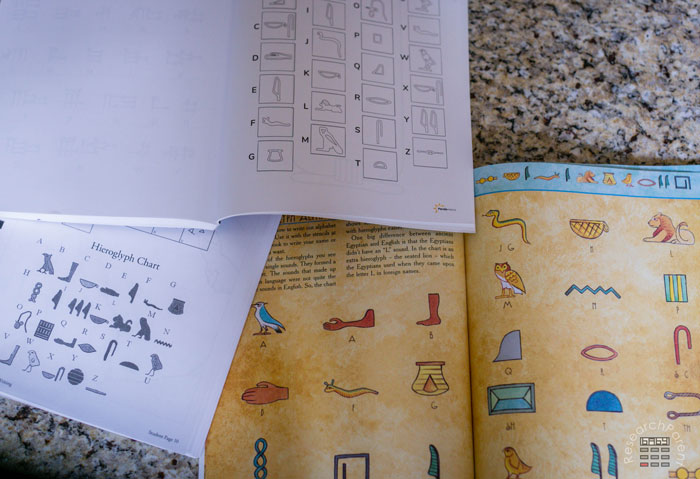
All of our resources included basically the same alphabet for the letters which you can also find for free online. The Hieroglyphs book we used by Joyce Milton includes a lot more information about how the hieroglyphs developed and what they mean for those interested in deeper knowledge. We also watched this 7 minute YouTube video showing the actual papyrus making process so my kids knew what we were symbolically imitating.
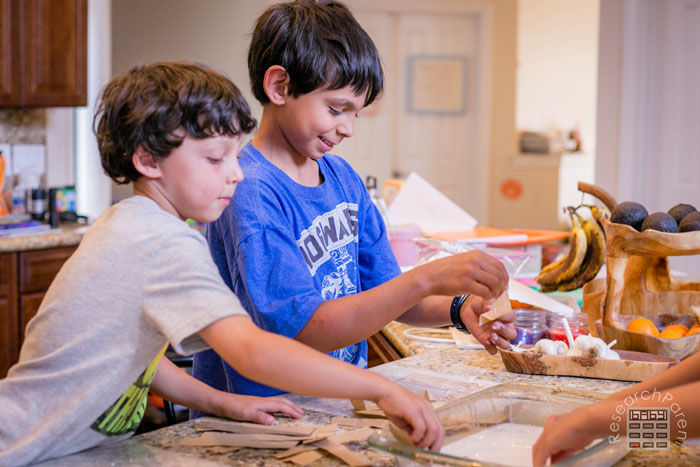
My kids had so much fun working on their own “papyrus” that I don’t think they will ever forget what it is, how it’s made, and hopefully, where it came from.
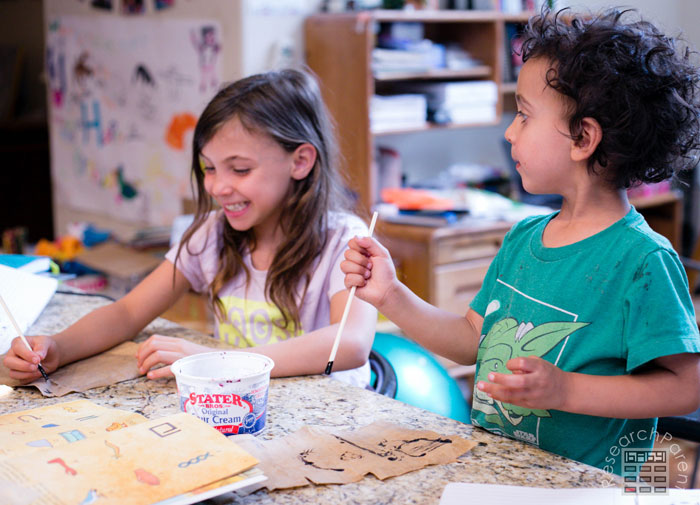
Possibly more fun even than creating the papyrus was writing on it after it dried. I encouraged kids to try out some of the hieroglyphs from the book, but, except for my oldest, mostly they just had fun drawing their own pictures.
Papyrus and Hieroglyph Activity Details
Recommended Age Range: Kindergarten, Elementary
Time Required: about 15 minutes to make papyrus, leave overnight to dry, 15 minutes for kids to write hieroglyphs
Difficulty: Easy
Cost: Less than $2 in used supplies
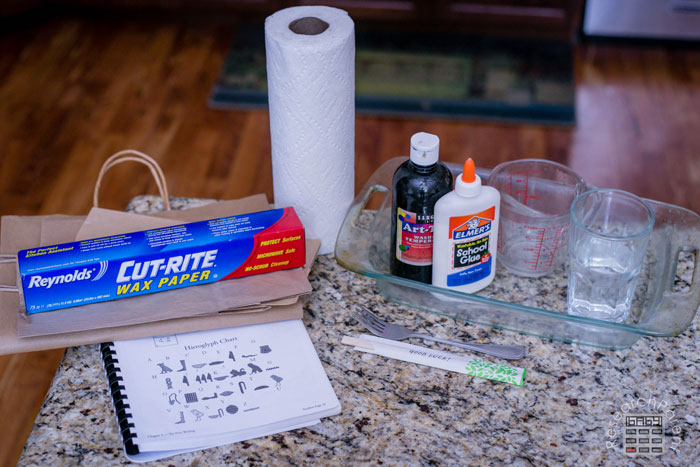
Materials
- paper (we used brown paper bags)
- wax paper to keep from sticking
- paper towels (to dry excess glue)
- black paint
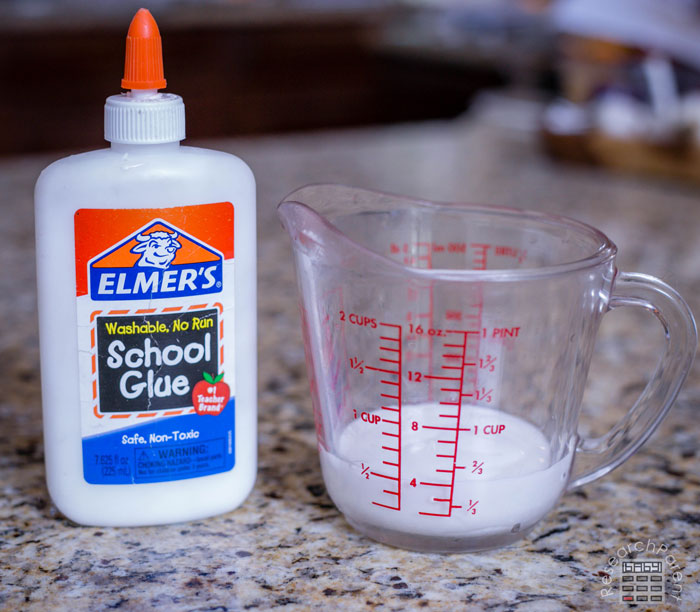
- white school glue
- chopsticks
- water
- container to hold paint (not shown, we used an old sour cream container)
Supplies
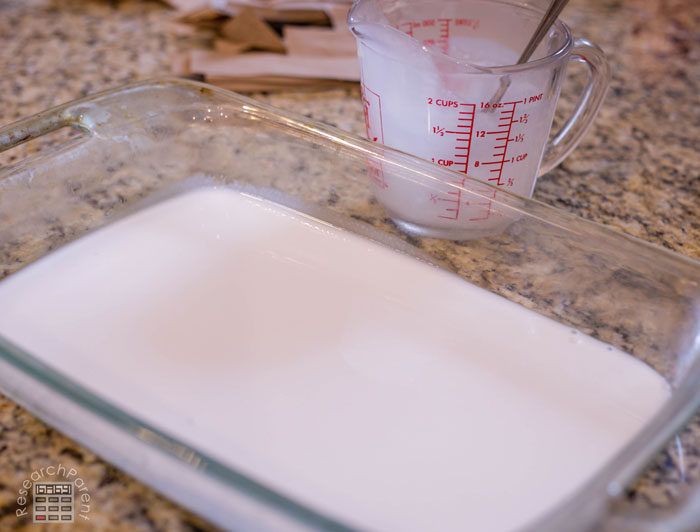
- shallow container to hold glue mixture (we used a 9×13 baking dish)
- measuring glass
- fork or spoon to stir
Instructions
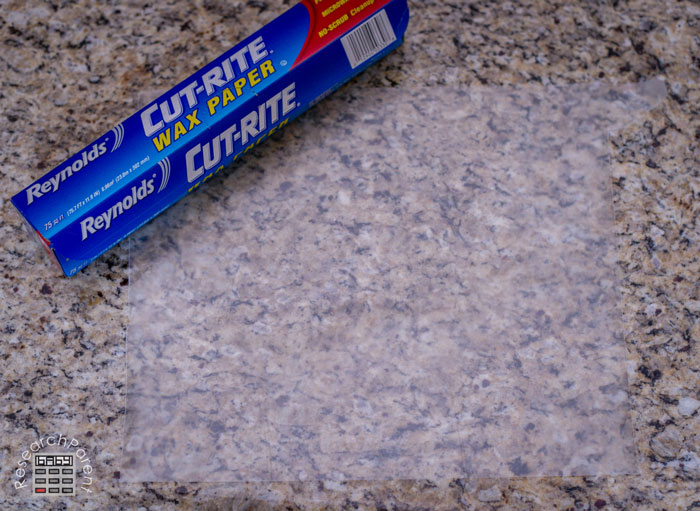
- To start, place a sheet of wax paper in front of the child on the counter. This will keep the papyrus from gluing itself to the work surface. You may want to tape it down with masking tape.
- Next, measure a half cup of glue.
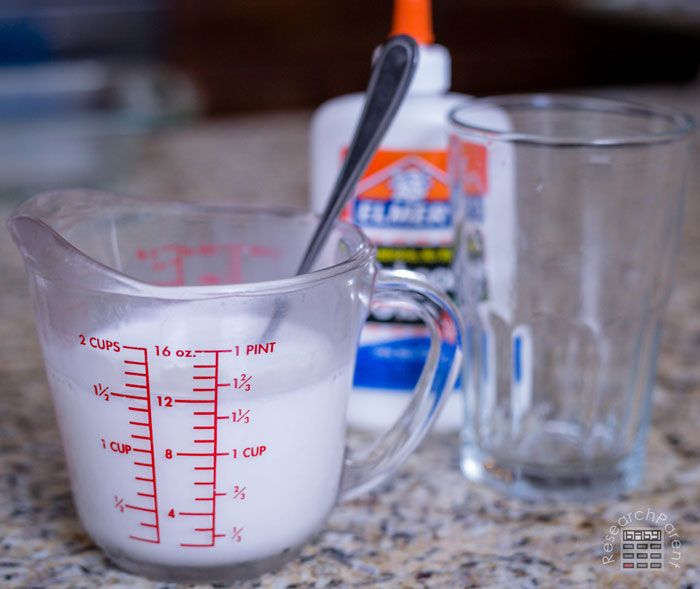
- Add a cup of water to the glue a bit at a time and stir to keep the consistency smooth. When you are done, you should have 1.5 cups of water/glue mixture.
- Pour the mixture into a shallow container for dipping the “papyrus” strips into.
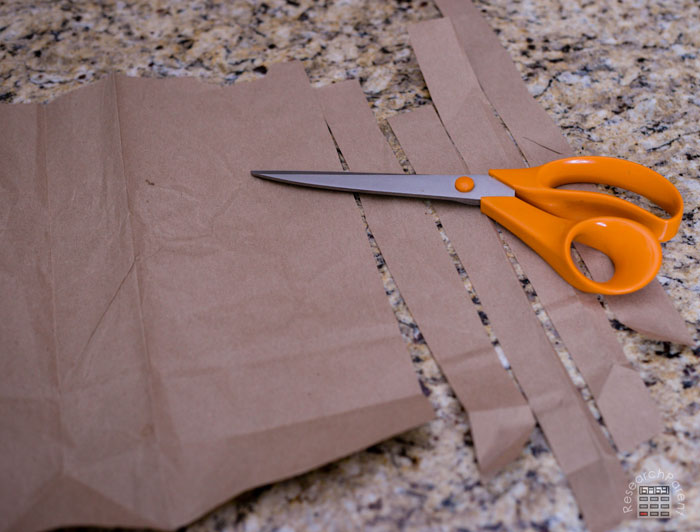
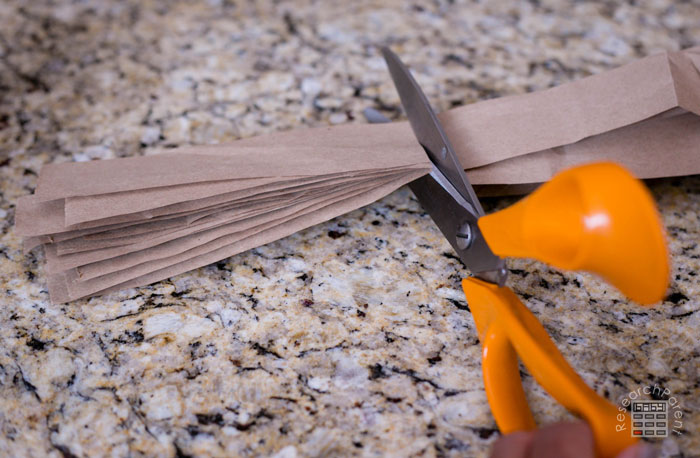
- Next cut your paper into strips. I used brown paper bags, but off the bottom of the bag, and made strips that were about 1 inch wide and 4 to 6 inches long.
- Have the child dip the strip into the glue mixture so it is fully covered.
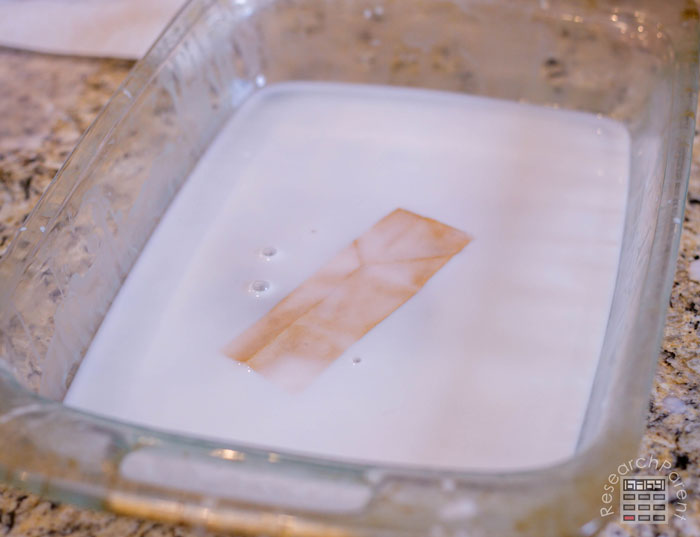
- Next have them place the wet strip onto their wax paper.
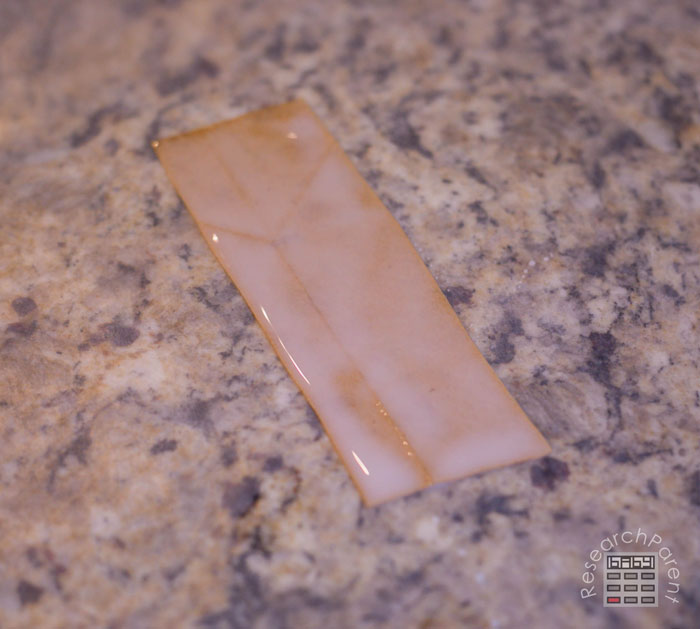
- Repeat the process laying the next strip so that it overlaps the first one.
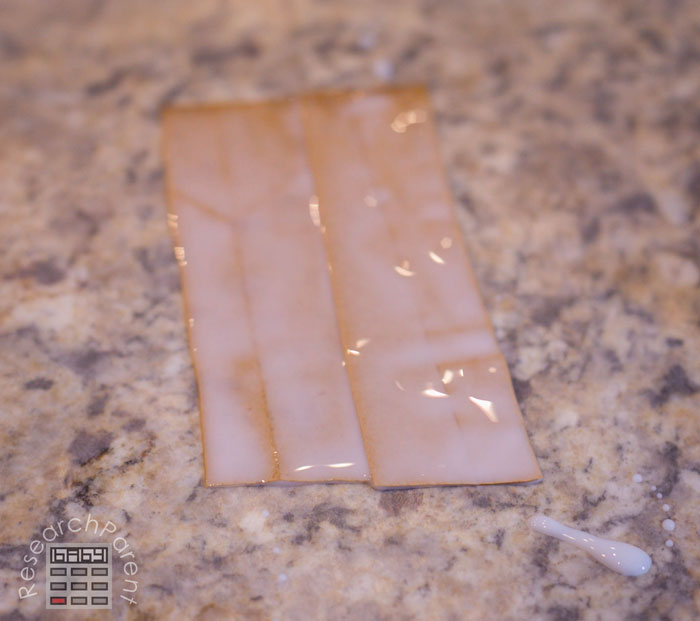
- Keep adding more strips covered in glue so that some of the strips are vertical and some are horizontal causing the strips to seem to weave together.
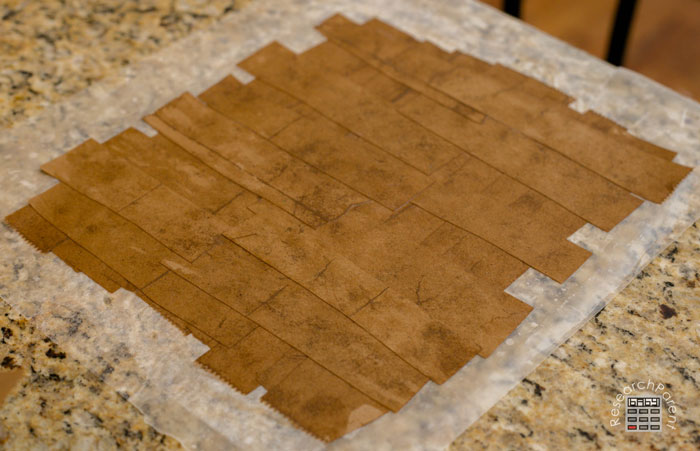
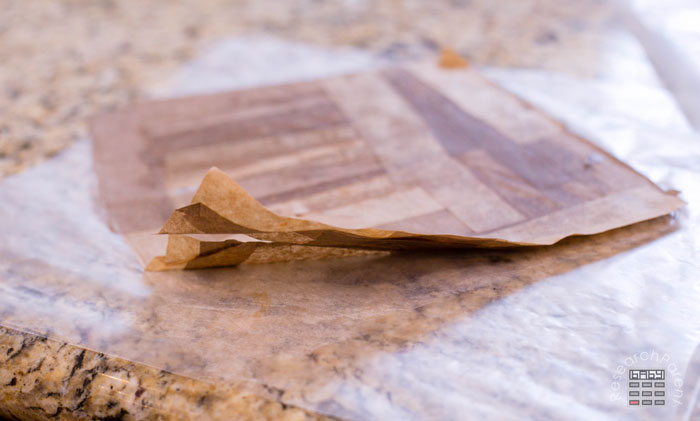
- Leave the “papyrus” paper to dry overnight. Once the top is starting to dry, you may want to start to peel it away from the wax paper to speed up the drying process.
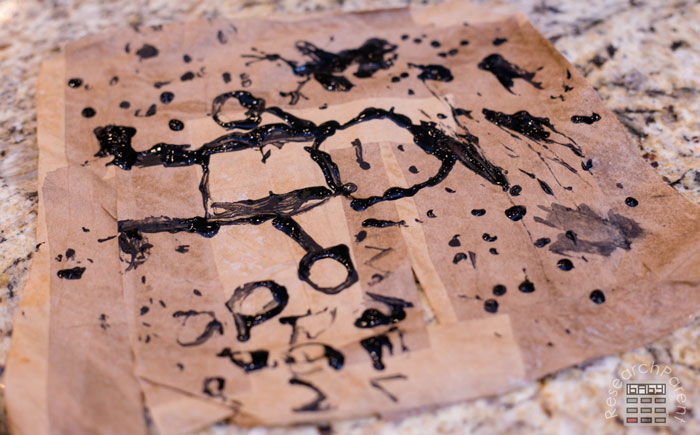
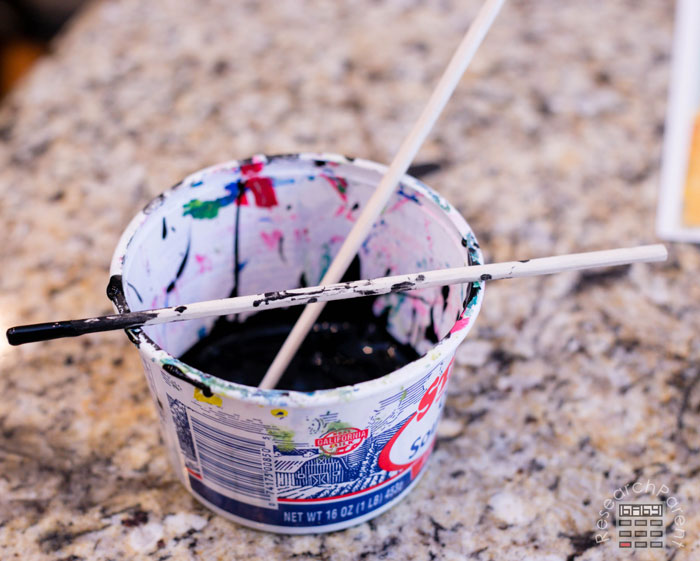
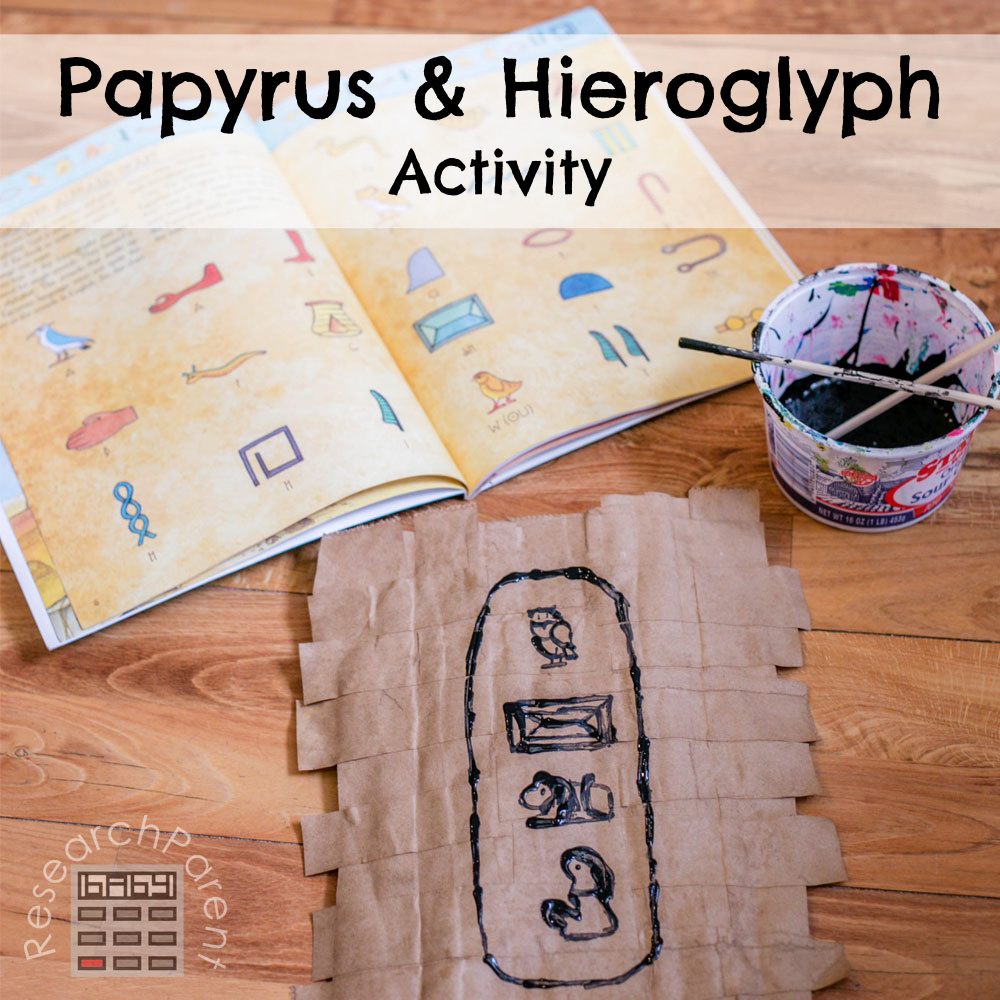
- Next comes the fun part. Pour some black paint into a container. We used an old sour cream container. Then let the kids draw on their papyrus with a chopstick. You can encourage them to use the hieroglyph alphabet to write out their name, but for younger kids, don’t be surprised if they would prefer to invent their own hieroglyphs.
If you would like to have your child create a cartouche, a symbol for a royal name, all they need to do is write their name vertically inside an oval using sounds from the hieroglyph alphabet to approximate their name. For example, for my name, Michelle, I used M-SH-L plus the hieroglyph indicating that I am female. I think cartouches also frequenty have a horizontal line underneath the oval, but I did not include this.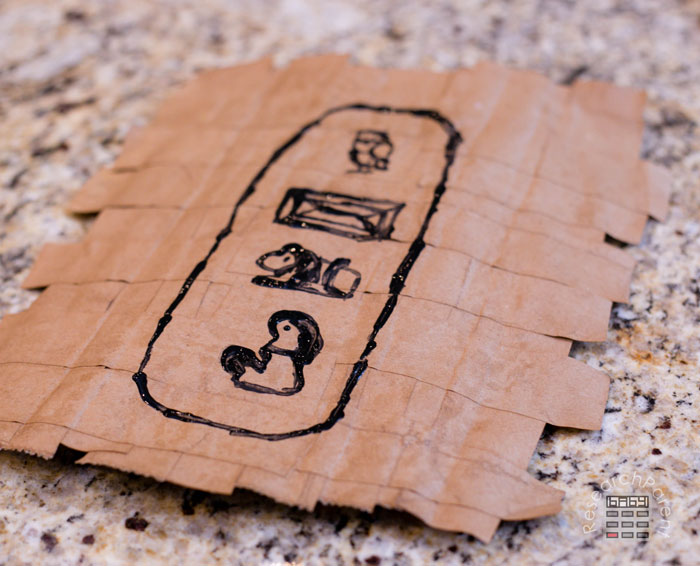
Have fun writing like an ancient Egyptian with this papyrus and hieroglyph activity!
The post Papyrus and Hieroglyph Activity appeared first on ResearchParent.com.